
How conversion tracking works in Pathmonk
A conversion happens when a visitor completes an action on your website — submitting a form, booking a demo, making a purchase. Pathmonk measures these through tracked events: signals that confirm the valuable action actually occurred. Every conversion goal needs at least one tracked event linked to it; without one, Pathmonk can't count conversions, measure uplift, or learn what works.
You'll be prompted to define your conversion tracking during onboarding, right after installing your Pathmonk snippet. To define it, you need to know how the conversion can be measured on your website — does it end on a confirmation page? On a third-party domain? With no page change at all? — and pick the method that matches. That's what this article helps you decide.
After onboarding, tracked events live in AI Engine → Event tracking (crm.pathmonk.com/dashboard/goals?tab=list); create additional ones with + Add Event. There are four tracking methods — which one you need depends on where and how your confirmation happens.
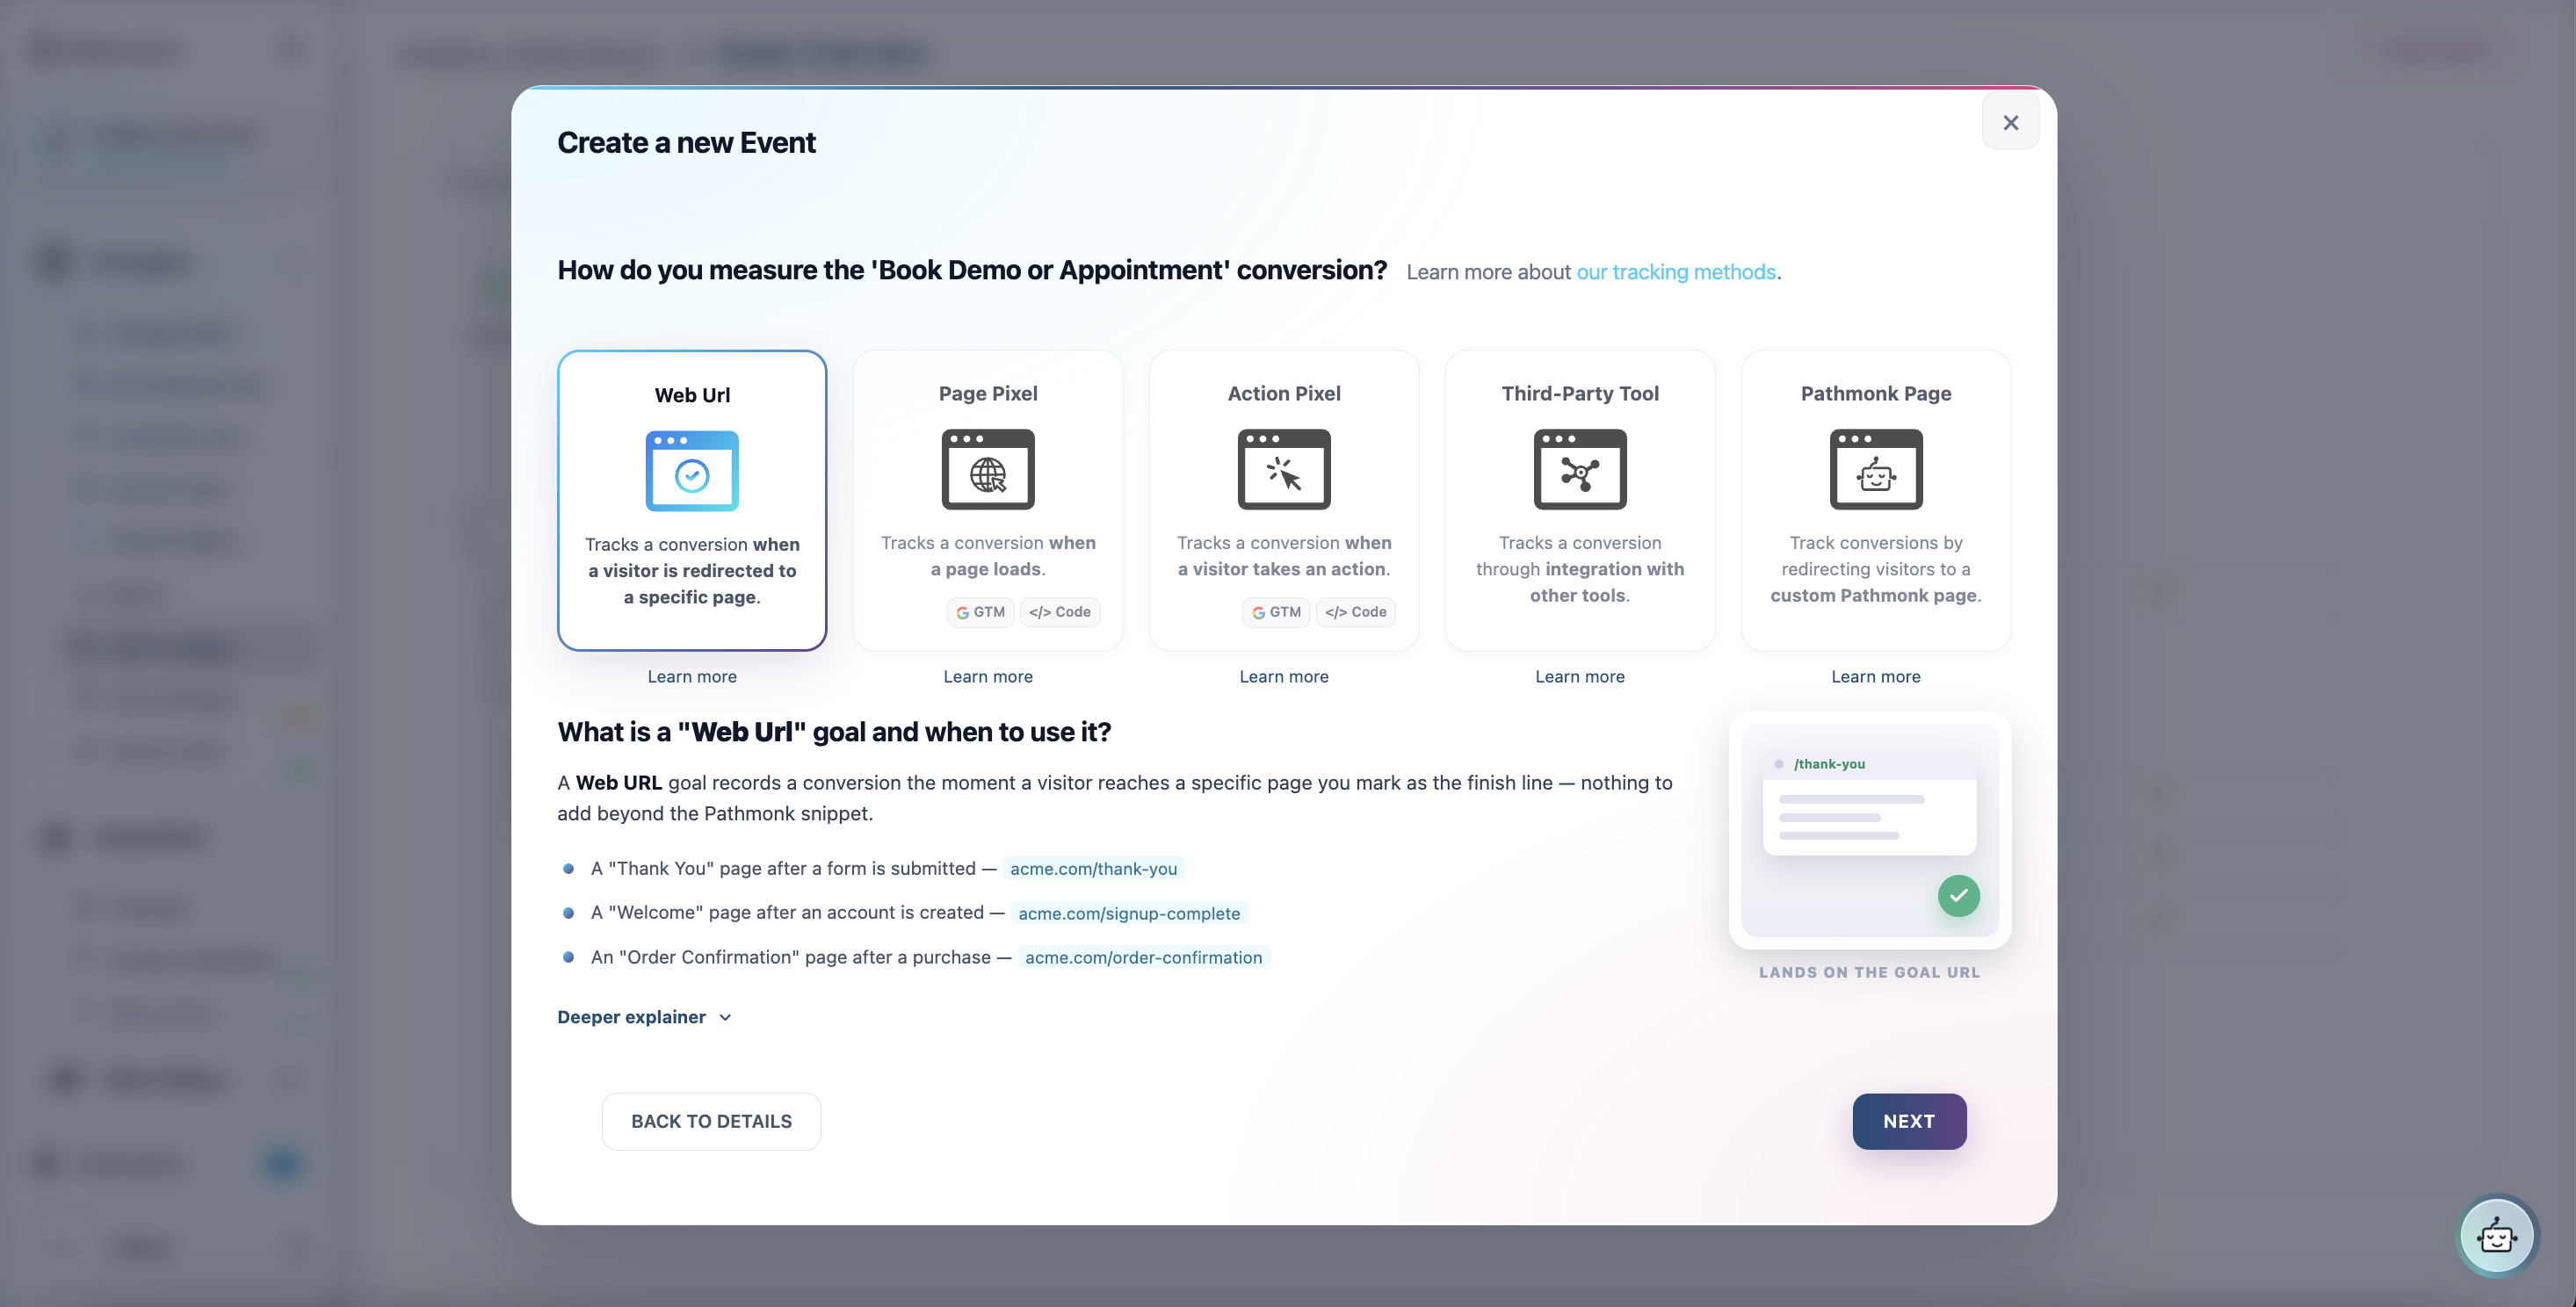
1. Web URL goal
Best for: lead forms and demo bookings that redirect to a confirmation page on your own domain (e.g. www.yoursite.com/thank-you).
The simplest method: Pathmonk counts a conversion whenever a visitor lands on that URL.
Setup: select the Web URL option, enter the confirmation page URL, name the event, and assign its monetary value (see Assigning a monetary value to your conversions). Test it by visiting the URL in an incognito window, then save.
2. Page load pixel
Best for: confirmation pages you don't control on your main domain — third-party hosted flows, external booking tools, or subdomain redirects.
Pathmonk generates a small JavaScript pixel (containing your client key and a pixel ID) that fires when the confirmation page loads, wherever it's hosted.
Setup: create the pixel with a name and monetary value, then install the generated code on the confirmation page — via Google Tag Manager (recommended, using your existing conversion triggers) or manually.
3. Visitor action pixel
Best for: conversions with no page change at all — single-page applications, inline forms, or modals that show a success message on the same page.
Setup: create the action pixel with a name and value, and add the provided JavaScript with the call pathmonkConversionPixel(); so it runs at the moment of confirmation (form success callback, for example). Install via GTM or directly in your code.
4. Pathmonk thank-you page
Best for: teams that can't modify their website at all.
Pathmonk hosts a thank-you page for you at a unique URL (e.g. https://thankyou.pathmonk.com/pages/44/). Point your form's redirect at that URL and conversions are counted there. The page can be customized to match your branding.
Important: this only works if your form actually redirects to the provided URL. If the redirect isn't set, conversions won't be detected.
Notes
- A tracked event must be set up to complete onboarding. If you can't implement your preferred method right away, use the Pathmonk thank-you page temporarily and switch later.
- You can create additional tracked events beyond your goals — every meaningful step you track helps the AI learn the journey. To see, edit, or archive them, see Managing tracked events.
- Stuck? Write to support@pathmonk.com with your pixel ID and page URL.